Pages

Showing posts with label help. Show all posts

Monday, 29 February 2016

Sourcing

Just a quick break (well, I say quick, it has been a fair few months since anything has been posted and I'm so sorry about that! New posts will follow soon to complete the Art History Timeline feature) from the Art History Timeline feature to bring you a post about sourcing.
This is something I have learned a large number of things about through Internal Assessments, Coursework and also within Art.

This will be useful for GCSE, AS, A-Level, IB and equivalent courses

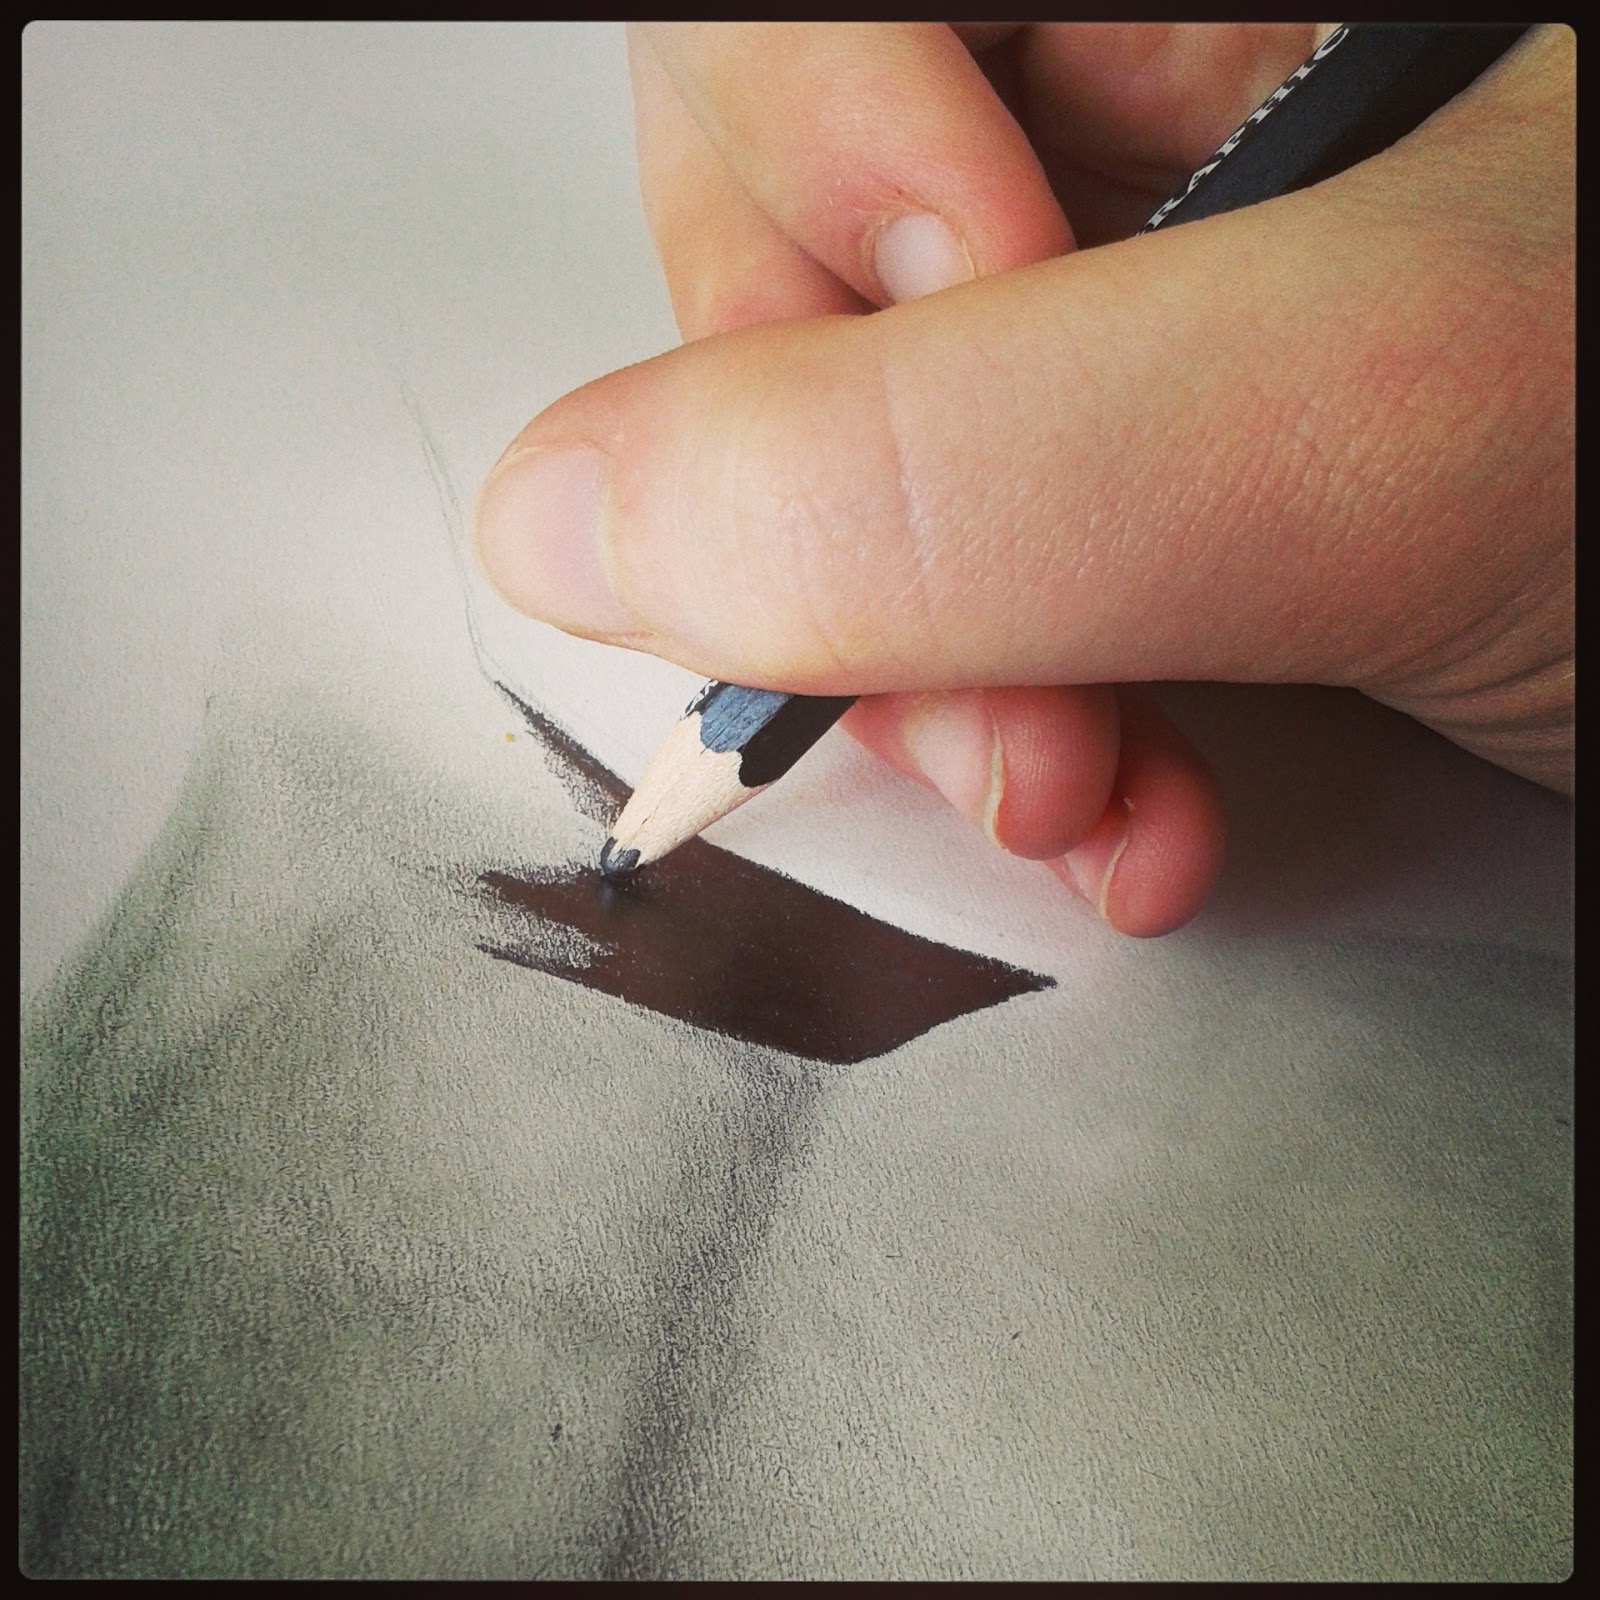
Within artwork in the classroom, sketchbook or even the art that I feature within a post, everything has to have an original source. For example;
  • A copy of an artists painting (with or without personal alterations); source the original piece that you have worked from.
  • A completely original piece; this depends on whether you have used any sources to help you come up with the idea. This includes images, videos and even text, which must be sources. An original idea and piece with no inspirations will not have to be sourced.
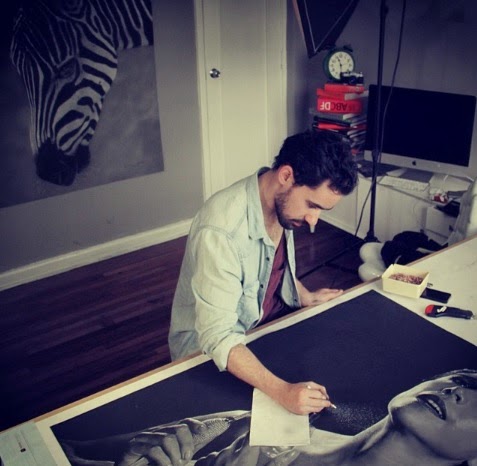
  • A copy of personal photos; source this from your own work e.g. 'Sources: own images'
Some schools, and of course universities can be incredibly picky about how you source your information within essays, sketchbooks and other places where sources must be used. For much of my coursework I had to use the format of 'Harvard' in Microsoft Word. This is really simple to use as you just open the referencing tab, add source with all the relevant information and update the bibliography at the end of the document. Make sure you are sourcing in the correct style that your school, college, or university wants. THEY CAN BE VERY PICKY! If you do not source correctly, you can lose marks.

Throughout this, you should probably know the difference between sources within a bibliography and appendices, both of which that appear at the end of the document and contain the information that you have used or have quoted from.

Sources are places where you have got information from e.g. websites, books.


Appendices are images which you refer to in the passage and other texts such as transcripts that have been personally made.


Within art, it is suggested to put the sources that you have used at the bottom of each page, along with the date and the page number. (This is easier in sketchbooks for obvious reasons)

Within essays, cite as you go along. It is difficult to describe, however I will be spending time doing this in my future posts, so have a look in them. I will also do a short post to give people the idea on how to cite correctly (in the Harvard style).

I hope this has been useful! And cite well, for I don't want anyone losing marks!

Art History Timeline feature shall return soon.

Friday, 10 October 2014

Paint

"The program or the physical gloopy art stuff?"


Paint, as many people know, comes in different types, packets and of course colours. This is your quick guide to the many different types of paint that is out there in the world.

  1. Oil Paint - This is a thick and slow drying paint with a strong colour. It is great for pieces that includes plenty of colour and even better for textured paintings. However, oil paint can be expensive and they are not the best paint for beginners.
  2. Water-colour Paint - These are can be much thinner paints compared to oil paints (it does depend if you have a pallet of water-colours or tubes of them, depending on the thickness and intensity of the colour). They can be great for their colour, even though you have to mix most of them yourself. Water-colour paint is one of the best for quick, slightly rough painting, and is one of the best paints to use for landscapes.
  3. Poster Paint - Poster paint is the best for children as it dries relatively quick, it's cheaper than all other paints and you can have lots of fun with it without worrying about it going everywhere. It doesn't have the strongest of colours, nor textures, which is makes it best for kids.
  4. Acrylic Paint - This paint is my favorite and I personally use it all the time. It is not the most expensive of the paints, and produces some wonderful colours. It doesn't take half as long to dry as oil paints do. Acrylic paints are the best for young artists, GCSE and A level students, or anyone who has art as a hobby.  These paints also come in one of the widest variety of colours that you could possibly see and with every company, there is a slightly different shade, creating even more shades. This paint is also the best to experiment with. I shall emphasize this again and again, acrylic paint is fabulous.
  5. Printing Paint - This paint is used for many different things, of which includes monoprinting. This is a very slow drying paint (not as fast as acrylic, but not as slow as oil!). It allows you to paint a lot of detail or a large surface without drying, so you can press on to it and still get the whole pattern. It is easy to mix and not one of the well known types of paint. It is the best to do monoprinting with.

Monday, 28 July 2014

33 things to cure artist block

Have you ever had one of those days or weeks where you want to draw something but you can't? Well, here's 33 tips to cure your artist block

  1. Listen to music
  2. Stay positive
  3. Remain focused
  4. Take a break
  5. Exercise
  6. Be confident in yourself
  7. Mindmap
  8. Find new inspiration pieces
  9. Go outside
  10. Keep a notepad on you at all times
  11. Copy from other artists instead of creating your own work
  12. Do a life drawing session
  13. Doodle
  14. Change mediums
  15. Take a new direction
  16. Draw something different- anatomy for example
  17. Read things that will stimulate the visual vortex
  18. Re-design something e.g. old cartoons, manga, etc
  19. Leave it for a week
  20. Just do it
  21. Find yourself a genius
  22. Talk through it
  23. Sleep
  24. Read some books
  25. Meditate
  26. Do some yoga
  27. Force yourself to procrastinate
  28. Keep busy with other things
  29. Sit down, shut up, go off-line
  30. Go and sit in the park and watch the world go buy
  31. Do some photography
  32. Search for excitement
  33. Draw the same thing for 30 days in different ways

Sunday, 27 July 2014

Help!

I have had over 130 views on my blog this month, and I have to thank everyone for that because I don't believe how many people view it!

However, I need your help because I make this to help people or inform people of art and everything to do with art. But I want to know what you want me to post!
Please comment below!

Tuesday, 8 July 2014

Photo vs Life

There are artists who sit in studios and use reference photos and then there are artists who sit outside and paint the world in front of them
Real vs Gaming

I personally use reference photos to draw from as I have had many times where I have simply been too slow and careful with my work that my subject or scene has simply gone. For example sunsets disappear so quickly that you cannot capture the true beauty of it if you are a slow artist, just like me.

Ricardo Garduno draws from reference photos
With reference photos you can also easily draw grids to check things such as positioning and proportion. I draw lots of people such as actors and singers (my most recent piece is on One Direction) and to get the proportion of the faces, the position of the eyes, lips and nose just right, I use a grid. Not everyone likes using a grid though as some people draw it on too hard and then cannot get rid of the evidence when they complete the drawing itself. Some people also struggle with grids and photos compared to painting or drawing from life because they cannot see the 3D of the world in a photo. Artists sometimes prefer to sit outside the same time repeatedly till they compete a painting or a drawing of a landscape or even a person.
Rob Pointon paints from real life

Life can be difficult though, unless you are a quick artist. The world moves so quickly and yet so slowly that the moment can be gone within seconds. Doing art from life however can also have its benefits as you can compare the piece of art to the real thing or even get the correct colour by simply comparing it there and then. Doing art from life also gives artists the opportunities to show of their work and their process of their art as almost free advertising.

There are four types of artists in the world. Ones that like to draw from pictures. Ones that like to draw from real life. Ones that like to draw free hand or from memory. And ones who really don't care.

Sunday, 29 June 2014

Warning..

This is a warning to all who post their art on the Internet

Personally, I have been caught a few times when people have copied my photos and used them as their own. This not only annoys people but you can be called a fraud because people think that you are the person that is copying the photo. 
One time on Instagram (find me on http://instagram.com/lottiemoox), I posted a photo and only an hour later I found exactly the same photo on somebodys account. Luckily I was following them and told them to take the photo down. Again, luckily they did so but now I have learnt my lesson and I now use a watermark on all or most of my photos (except selfies because what is the point?).

Great Watermark Apps

  1. Photoshop - Photoshop is a computer program that many professionals use which is used mainly on the computer. Photoshop is amazing because it alters photos, pictures and screenshots. This is an amazing program that can be used for almost anything however it does come at a price. Photoshop prices begin at £8.78 a month and goes up to £46.88 a month, depending on the package that you buy.
  2. Phonto - Phonto is a Mobile App that I frequently use on my photos to ensure that they are watermarked. Phonto is simple and easy to use and you don't have any faffing around like you have with many other watermark apps out there in the App Store for Apple products or the Play Store for Android Products. Phonto also does not change the quality of the photo in any way which ensures the high quality of the photo that you have taken of your art. Phonto is free to download and has links to all social media making it quick and easy to post photos.
  3. Watermark - If you want an app that looks more professional, go for Watermark. This app is on the App Store for Apple products for £0.69 or $0.99. This app contains the main features of a watermark app, however it has some special features that include white and black spiral watermark, a choice from more than 50 different fonts and the choice of a higher or lower resolution photo when you save the photo.
  4. iWatermark - iWatermark offers a very easy and intuitive platform to watermark your images with either visible text, graphic or QR watermark. You can also create your own watermark or use one of the presets. iWatermark is the only watermarking tool available on all four platforms; iPhone, iPad, Mac and Windows and it is available for £0.69.
  5. Add Watermark Free - This is one of the most simple watermark apps out there right now. For free you can download this app which has great features like quick share on Facebook, Twitter, Instagram etc, and easy reusing of recent watermark texts. With this app you can also process multiple images at the same time in batch mode which can save time and effort.
So remember: Protect your art, photos or images by putting a personal watermark on them BEFORE you share or post them online.


Friday, 4 April 2014

5 Quick Tips About Pencils

Everyone seems to know something or other about art, so I devised my top 5 tips to get a great drawing...

These are based on the drawings of people, however these tips can be used generally for drawing too...

http://instagram.com/lottiemoox


1. Light to dark

First things first, always start with the lightest areas first. Most artists  find that not only does it make sense, but it makes your life easier to go from lighter to darker tones when drawing.
This is best as you can make adjustments as you go along without damaging the surface of your paper or creating ugly smudges where you've erased inaccurate lines.
Light from dark also means the building up of layers...


Ramirez Ricardo Garduno
http://www.ricardogarduno.com/RicardoGarduno/

2. Layers!

Don't press down hard straight away...
I find when people start drawing, they will press down on the paper with force to create darker tones. DO NOT DO THIS! Even if you know what you are doing, build up the layers to create darker and darker shades.
The building up of layers can also add more character to the drawing than perhaps originally intended.
For darker tones use a 6B, 5B, 4B, 3B, 2B and perhaps even a B pencil. Personally, I have not used anything more than a 6B pencil, but I found these brilliant for creating darker tones.
For a more mechanical and detailed drawing, use the H pencils which have a harder lead to give a more crisp drawing.

www.google.co.uk/images

3. Light

Getting lighting right is always tricky...
It may be easy when you have a photo in front of you to copy from, but you can get rather stuck when you're on your own.
Top tip with light: Always know which direction it is coming from! A nightmare would be shading that doesn't make sense.
If you get really stuck, look at someone near you to get the rough shading of the face.

Vitruvian Man
Leonardo Da Vinci


4. Draw guidelines and construction lines

Your drawing may start off looking like a bunch of lines and circles, however some drawings, especially the human face and animals, need guidelines.
I wouldn't tell you to use guidelines and construction lines unless I use them; I can personally say that they are brilliant and have been a life saver on more than one occasion.
Do these  guidelines very, very lightly because then they are easy to rub out, of even shade over later. Doing guidelines and construction lines darker will leave marks in the final drawing and would definitely cause your drawing to look a little strange.


Something I love
Imagine Dragons

5. Draw something that you love

When you draw something you love, you will always feel better about it because you loved it before you drew it. Try drawing it repeatedly and in different ways. If you do many different drawings of the same subject in different poses and arrangements, you will see a lot of improvement and fast.
Each time you draw it, you'll notice something new. The proportions will get better over time, you'll get the shading more accurate and you'll lay it out better.
Try it in different mediums too; don't just use sketching pencils. Try coloured pencils, pens, coloured pens, watercolours, acrylic paint, oil paint, or maybe even oil pastels.